Robot courier
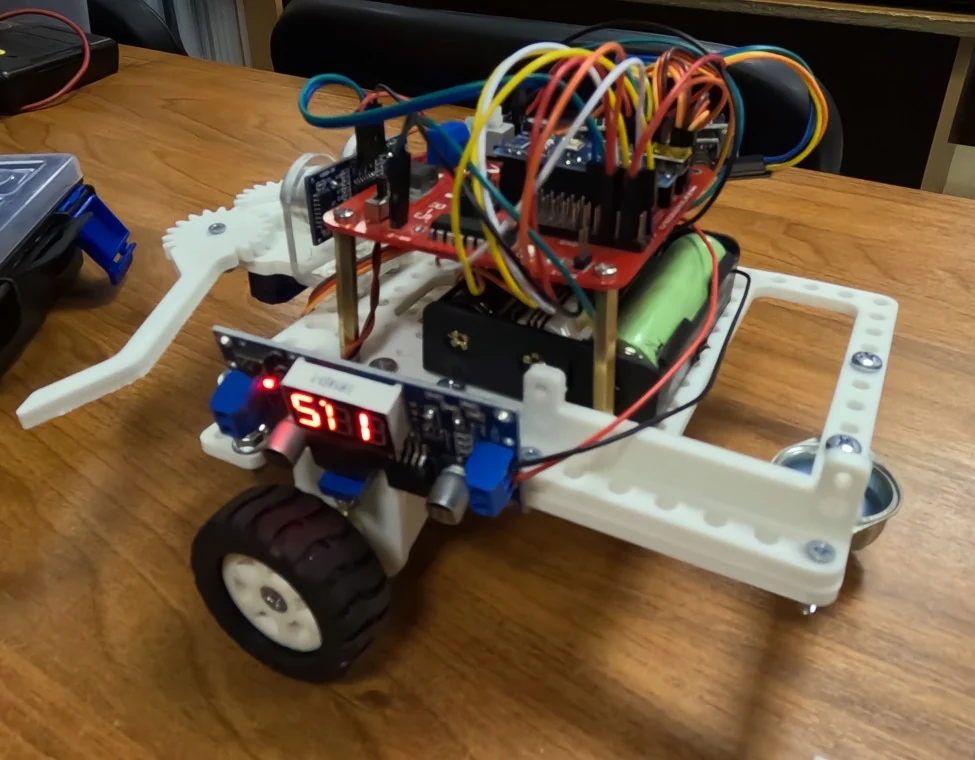
We assemble a wheeled robot and teach it to drive along a line, find objects and deliver them.
No programming or electronics experience required.
About the course
You will assemble a wheeled robot and step by step teach it to work as a courier: drive along the line, find intersections, notice the cargo, grab it and deliver it where it needs to be. At the end of the course, the robot itself carries out the delivery - according to your program and its sensors, without a remote control.
Each lesson gives one skill, which will later be needed in the final task. You don’t need to know anything in advance: the course explains assembly, electronics and programming from scratch. If you already know how to do something, choose a higher level, and there will be more work “on your own.”
What you will learn
- Assembling the robot and connecting the electronics according to the diagram is neat and safe.
- Program Arduino: functions, conditions, variables, loops.
- Control motors: drive, stop, turn to the desired angle.
- Read the line sensors and drive the robot smoothly with the P-controller.
- Find intersections and drive the route according to plan.
- Find a load using ultrasound and carry it with a gripper.
- Work like an engineer: predict, measure, record and find errors.
Course program
- 1.1
Assembled robot: both motors are checked in both directions and stop, both line sensors react to white and black. The test results are recorded in a log.
- Main: Upload the finished test sketch and check all installed components using the protocol.
- Average level: Add to the test sketch: reading two sensors and controlling the selected motor.
- Advanced level: Write a test sketch according to the requirements and justify the results of testing each component.
- 2.1
The robot drives forward, stops and returns back according to the program. The movements are formalized by the functions forward(), backward() and stopMotors().
- Main: Drive forward for 1 second, stop and go back.
- Average level: Make a shuttle of three repetitions with a for loop.
- Advanced level: Return to the start with an accuracy of 2 cm according to the measured path.
- 2.2
The robot turns 90° left and right and turns 180°. The timing of turns is selected and recorded in the logbook, turns are designed with functions.
- Main: Turn left and right by 90° and turn 180° according to the selected time.
- Average level: Rotate 180° so that the robot returns to the same line: the error is no more than the width of the line.
- Advanced level: The turn(angle) function with a single ms-per-degree factor, tested at 45°, 90° and 180°.
- 3.1
The robot drives along a black line with a smooth bend, turning according to signals from two sensors. The logbook records sensor readings in white and black.
- Main: Go through a straight line and a smooth bend according to two rules.
- Average level: Drive straight through the intersection when both sensors see black.
- Advanced level: Slow down the wheel instead of stopping and compare smoothness.
- 3.2
The robot moves smoothly along the line with the P-controller and passes the arc of its level. The coefficient and speed are selected and recorded in the log.
- Main: Walk through an arc with a radius of 350 mm without losing a line.
- Average level: Go through an arc with a radius of 250 mm at a speed not lower than that selected for the straight line.
- Advanced level: Pass an S-link of two arcs with a radius of 125 mm: select the speed and coefficient.
- 4.1
The robot travels along the line with the P-controller and stops at the required intersection. Each intersection is counted once.
- Main: Drive along the line to the first intersection and stop at it.
- Average level: Stop at the third intersection, after going straight through the first two.
- Advanced level: Drive through intersections without stopping and do not lose the line after them.
- 4.2
The robot turns left or right from the intersection to a new line, turns around on the line and follows a route of several solutions written in order in the program.
- Main: Turn left or right from the intersection and take the new line; turn around on the line.
- Average level: Go through the route of four solutions “left / right / straight”, written in the program in order.
- Advanced level: Store the route as an array and create your own route based on the field diagram and task card.
- 5.1
The robot travels along the line and stops at a specified distance from the load. If the echo does not return, the program does not accept this as a “cargo nearby”.
- Main: Stop 5 cm from the load standing on the line.
- Average level: Repeat the measurement if there is no echo, and stop if there is no echo several times in a row.
- Advanced level: Smooth measurements: take the average of three values (median).
- 5.2
The robot approaches the load via ultrasound, picks it up, turns around, carries it along the line and places it at the other end. Actions are formalized by the functions pickUp() and putDown().
- Main: Take a weight from the end of the line and place it at the other end of the same line.
- Average level: Carry the cargo through the intersection to another branch.
- Advanced level: The deliver() function, which receives the route to the cargo and to the delivery location.
- 6.1
The level of the final task has been selected, the route plan has been recorded and verified. The program goes through the entire route at least in a test run, working versions are saved.
- Main: Initial field: two deliveries in a known order.
- Average level: Middle field: route through four intersections with straight ahead.
- Advanced level: Advanced field: your own route along the task card.
- 6.2
Two qualifying attempts were made, each scored on a sheet. The team explains their program and tells what error they found and how they fixed it.
- Main: Scoring on the initial field.
- Average level: The score is on the middle field.
- Advanced level: Score on an advanced course using a card issued before the race.
+Optional · not required for the final taskOptional2 lessons
- F.1
The program counts wheel revolutions using encoders and drives the measured distance. The number of pulses per revolution is measured, the accuracy is checked with a ruler. Not needed for the final task.
- Main: Drive 500 mm with an error of no more than 2 cm in three out of three runs.
- Average level: Drive 1 m, aligning the wheels according to the difference in impulses: the robot moves away from the straight line no more than 3 cm.
- Advanced level: Turn 90° in place using the encoders: calculate the pulse counts from the robot’s track width; the error must not exceed 10°.
- F.2
The team compared on/off, P, PD and PID controllers on the same track and speed in terms of average error, largest error and number of line transitions and explained the result. Not needed for the final task.
- Main: Fill out a table comparing all four controllers at the same speed, three runs each, and name the best one based on the average error.
- Average level: Select kd at which PD passes the route with a smaller average error than P, and explain why using numbers.
- Advanced level: Find for each of the four controllers the highest speed at which it passes the route three times out of three, and make a rating.
Final task
The robot itself transports two loads from start to finish along a field with lines and intersections: it finds the load with ultrasound, picks it up with a gripper and delivers it to the desired area. The course and difficulty of the route depend on the level.
Initial
My level
S-shaped line, two intersections, the order of actions is known in advance.
Needed from lessons- Main: Main task in all lessons 1.1–5.2
Average
My level
Network of roads, four intersections, go straight and meet intersections again.
Needed from lessons- Average level: Task ★ in all lessons 1.1–5.2
Advanced
My level
Six intersections, steep S-arcs, you make up your own route according to the map.
Needed from lessons- Advanced level: Task ★★ in all lessons 1.1–5.2
The level of the final task is chosen in lesson 6.1 based on completed lesson assignments.
How is the lesson going?
- 1Prepare the robot5 min
- 2Turn on the left motor15 min
- 3Turn on both motors15 min
- 4Find the stop error10 min
- 5Design movements with functions15 min
- 6First race on the floor15 min
- 7Change the program10 min
- One lesson - two lessons of 45 minutes each. At the end of each lesson you can see the result: the robot does something, and you can explain why.
- The lesson is broken down into short steps of 3-15 minutes. At each step - why it is needed, what to do and “It should work out”: by it you check yourself.
- Before starting the program, you predict what the robot will do, and then check it. If the forecast did not coincide, this is the most interesting part of the lesson.
- The lesson begins with a warm-up: 2-3 questions about previous lessons, without assessment.
- At the end of the lesson, you test your level of knowledge and record the result in the logbook.
Levels
The goal, steps and time of the lesson are the same for everyone - the class goes together. The level changes how much help you get and how independent you work.
| InitialMy level | AverageMy level | AdvancedMy level | |
|---|---|---|---|
| Software | Ready, with each line parsed | Preparation: you write what’s new in the lesson yourself according to the goals; the rest is ready | Developing your program from previous lessons according to the requirements |
| Explanations | Step by step | The main idea, formulas are in the tips | Briefly; details on request |
| Tips | Right in the text | One or two, you open it yourself | Ladder: idea → plan → code snippet |
| Lesson assignment | Basic | Average level | Advanced |
| Knowledge Test | Remember and count | Explain why | Find the error and disassemble the program |
The level is selected in the top panel of the page. It can be changed at any time; If you get stuck on a step, open the hint or material at a lower level.
How it is assessed
- Every lesson: “Should work” result and knowledge test. How many correct answers are needed is written at the end of the lesson.
- Final task: qualifying races on the field of your level according to the assessment sheet for 100 points, scoring from 70 points if the required conditions are met.
- Speed itself is not rated. It is important that the robot does everything itself - according to its sensors and your program.
Alone or in pairs
The course can be taken alone - at home or in a classroom. In a class, it’s more convenient to work with two people per robot: one does the work, the other reads the step and checks, and mistakes are noticed faster.
Pilot
Holds an instrument or keyboard and performs an action.
Navigator
Reads the instructions, submits the parts and checks the result.
Roles change after each assembled part or program step - so both go through all the material.
If you are practicing alone, take both roles in turn: first read the entire step as a navigator, then do it as a pilot, and check with “It should work.”
What you need
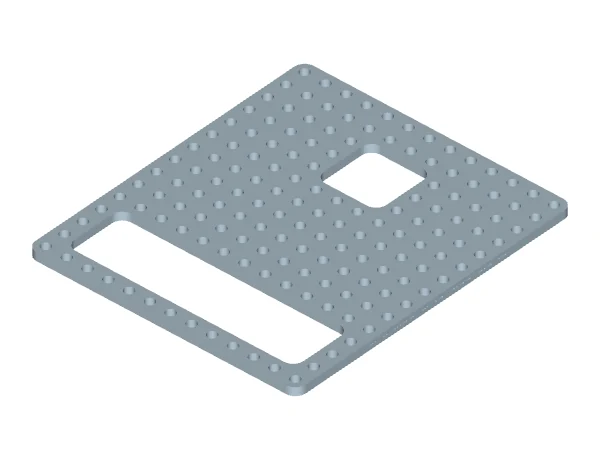
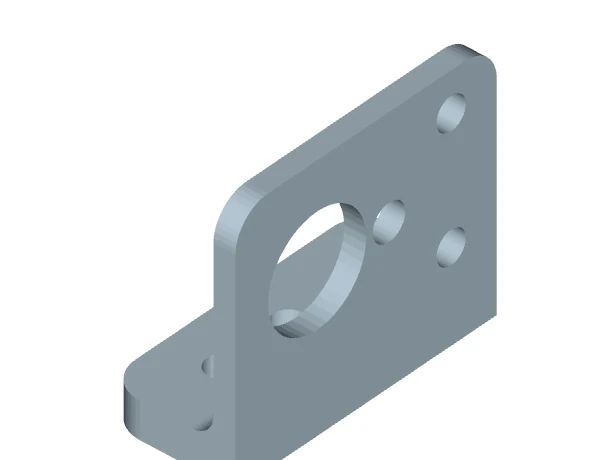
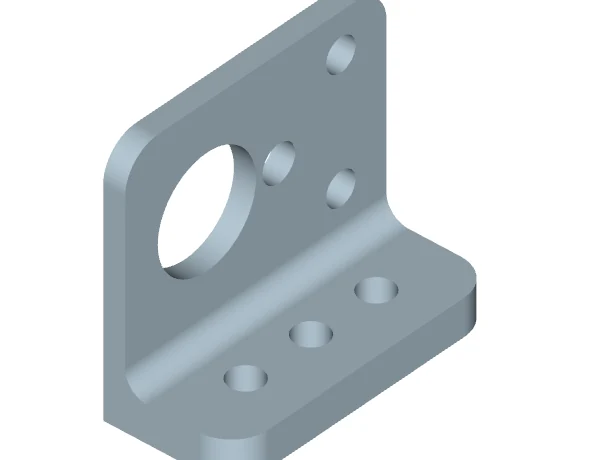
Materials collected for the kit Arduino Uno + L298P motor shield: the pin numbers and values in the code and wiring tables come from its hardware profile.
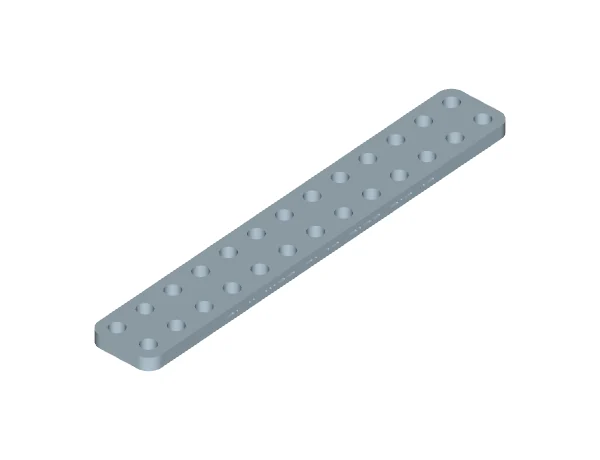
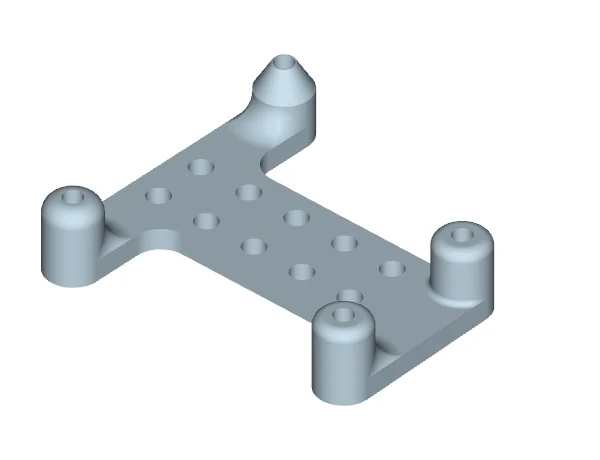
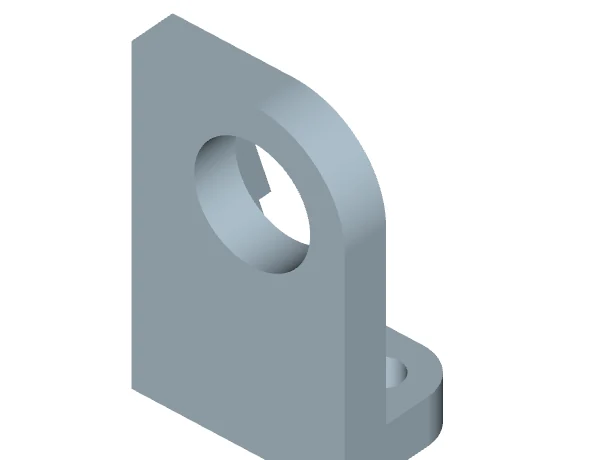
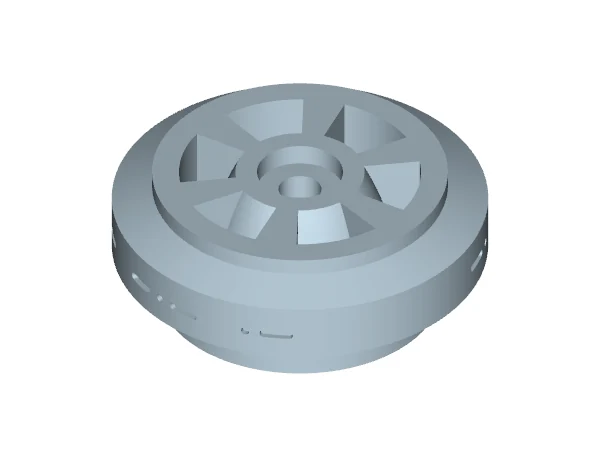
In addition to the kit:
- Computer with MyRobotica installed.
- Training track: A2 or A3 sheet with a line, arc and intersection made of 19 mm matte black electrical tape.
- The field of the final task is 2400 × 1800 mm - it is prepared by the teacher.
Security
- Connect and disconnect wires only with all power off: unplug USB and switch off motor power.
- An adult prepares and connects the battery compartment.
- The first launch of the program with motors is on a stand, the wheels do not touch the table.
- The motor switch is always at hand. The Reset button is not a reliable stop.
- The program is loaded with the power to the motors turned off: after loading, the robot can immediately move.
Logbook
The crew has a logbook. It records sensor measurements, selected numbers, route plans and conclusions after races. The journal moves from lesson to lesson: the values from it are needed further.
Course materials
Course in one file
All lessons and logbook for the selected level of the final task.
OpenPDF: BeginnerPDF: IntermediatePDF: Advanced